Thursday, September 30, 2010
Smoke Picture
I took one of my pictures and I selected the background, then I inverted the selection and made a duplicate layer of the selected area. Then I went back to the first layer and filled it in black and desaturated the picture, then I used a filter to find the edges to give it a sketchy look. I raised the contrast then began adding the smoke brush strokes while adding more layers. On the final layer I made a gradient fill and then merged all of the layers together.
Tuesday, September 21, 2010
Panorama
I stitched 4 pictures together using the automate option and went through and changed the contrast of the picture and blurred out some of the damaged areas to make the image look more neat. I had trouble fixing the areas that were faded or damaged, so the quality still doesn't look as good as I'd like it to.
Friday, September 17, 2010
Tropical Mermaid
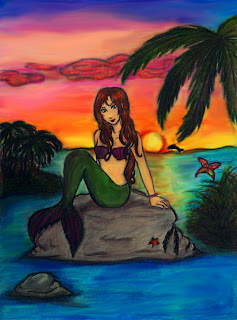
I took one of my drawings and used the blur tools to smooth out the colors and manipulated the saturation and contrast settings to give the colors a more vibrant effect. I used a number of different selection tools as well.
Wednesday, September 8, 2010
Blue Flowers
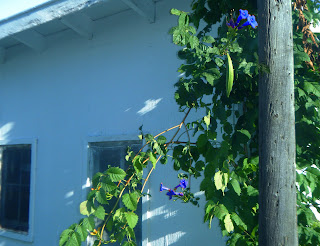
I used the magnetic lasso selection tool and the magic wand tool a lot on this picture to change the lighting and colors in different areas. I changed the colors of the flowers to blue and darkened the area around the pole. I also tried to use the rule of thirds in this photo and took it at a different angle rather then the usual straight forward angle.
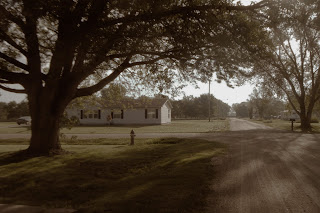
Old Neighborhood
I took a picture of the neighbor hood that I used to live in in Clearwater. I Mostly changed the colors with this one. I desaturated it and manipulated the colors to give it an old, almost black and white look to it.
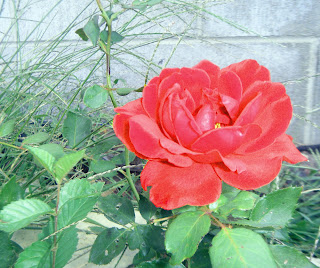
Rose
I used the rule of thirds making the rose the center of the photo, and I used the magnetic lasso tool to select the rose to saturate it's color. Then i inverted the selection and brightened the background of the picture.
Subscribe to:
Posts (Atom)